3 ways Affinity Designer can make you a faster illustrator
By Adam
If you have no idea what Affinity Designer is, I don’t blame you. I used to be like you. When I first learned to make vector art, there was basically Adobe Illustrator as the industry standard and then a handful of other programs that serviced more specific needs. Times are shifting more these days, and that product pool is widening and getting better. I’d like to pick out three things I’ve found in Affinity Designer that have made my workflow breezy.
The gradient noise tool
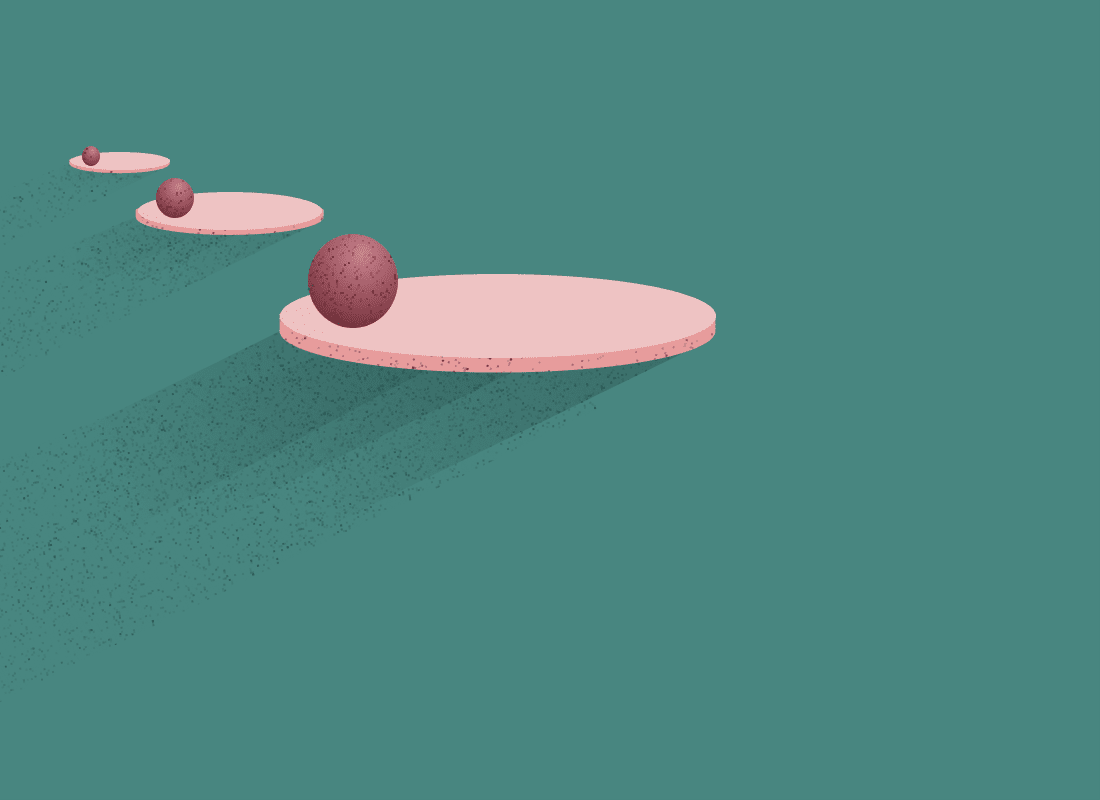
Comically small and criminally underrated, there is a tiny slider underneath most places in the UI where you choose a color picker. It took me a year before I even noticed it and tried it, but, once I did, it blew me away. In many tools, adding noise to a shape is an involved process of first adding a filter or effect to a shape layer and then masking the effect away with a gradient. What this little slider does is smash that workflow into one easy input. Take a look here, we have this bridge with no noise texture.

Stylistically it is fine and looks nice, but see what happens when we add some noise to the composition.
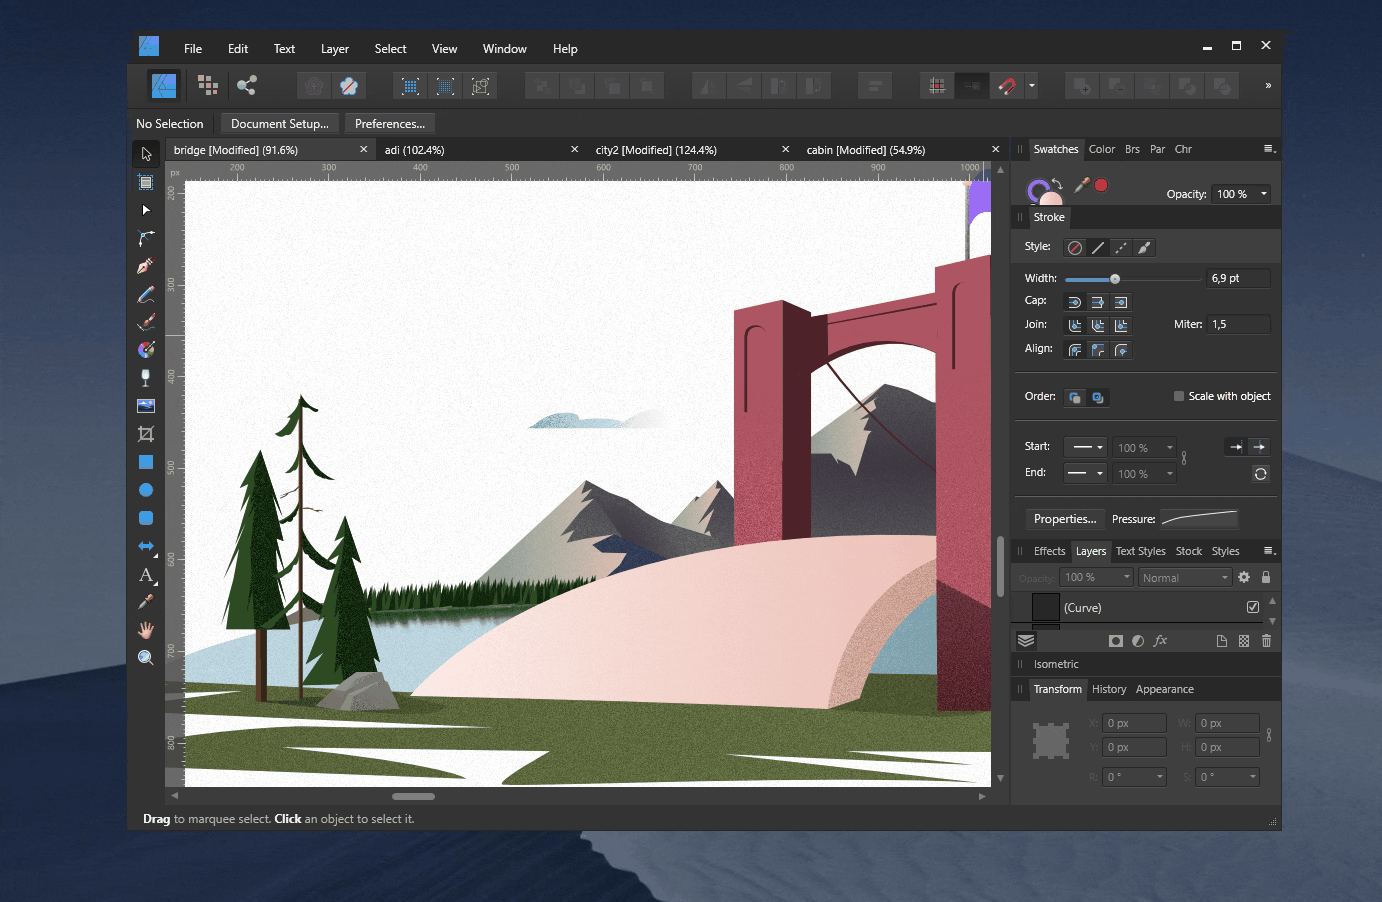
It really makes that come together! The best part is, if we want to change this later, it’s a trivial change of just reseting the effect on the gradient.
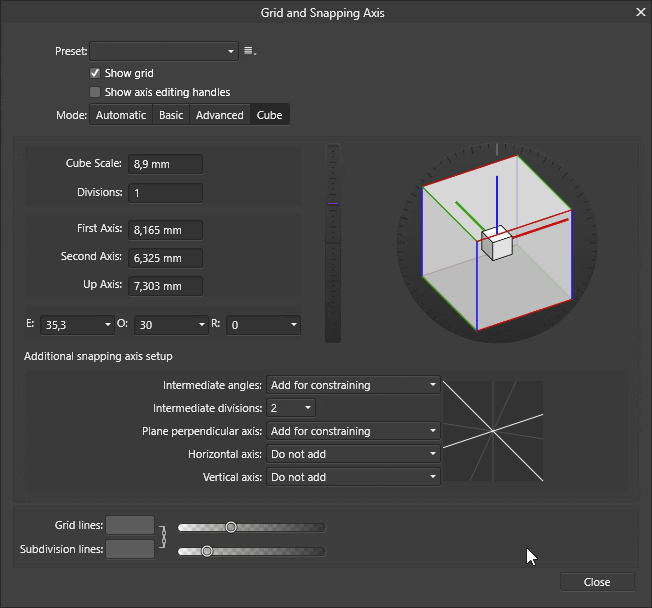
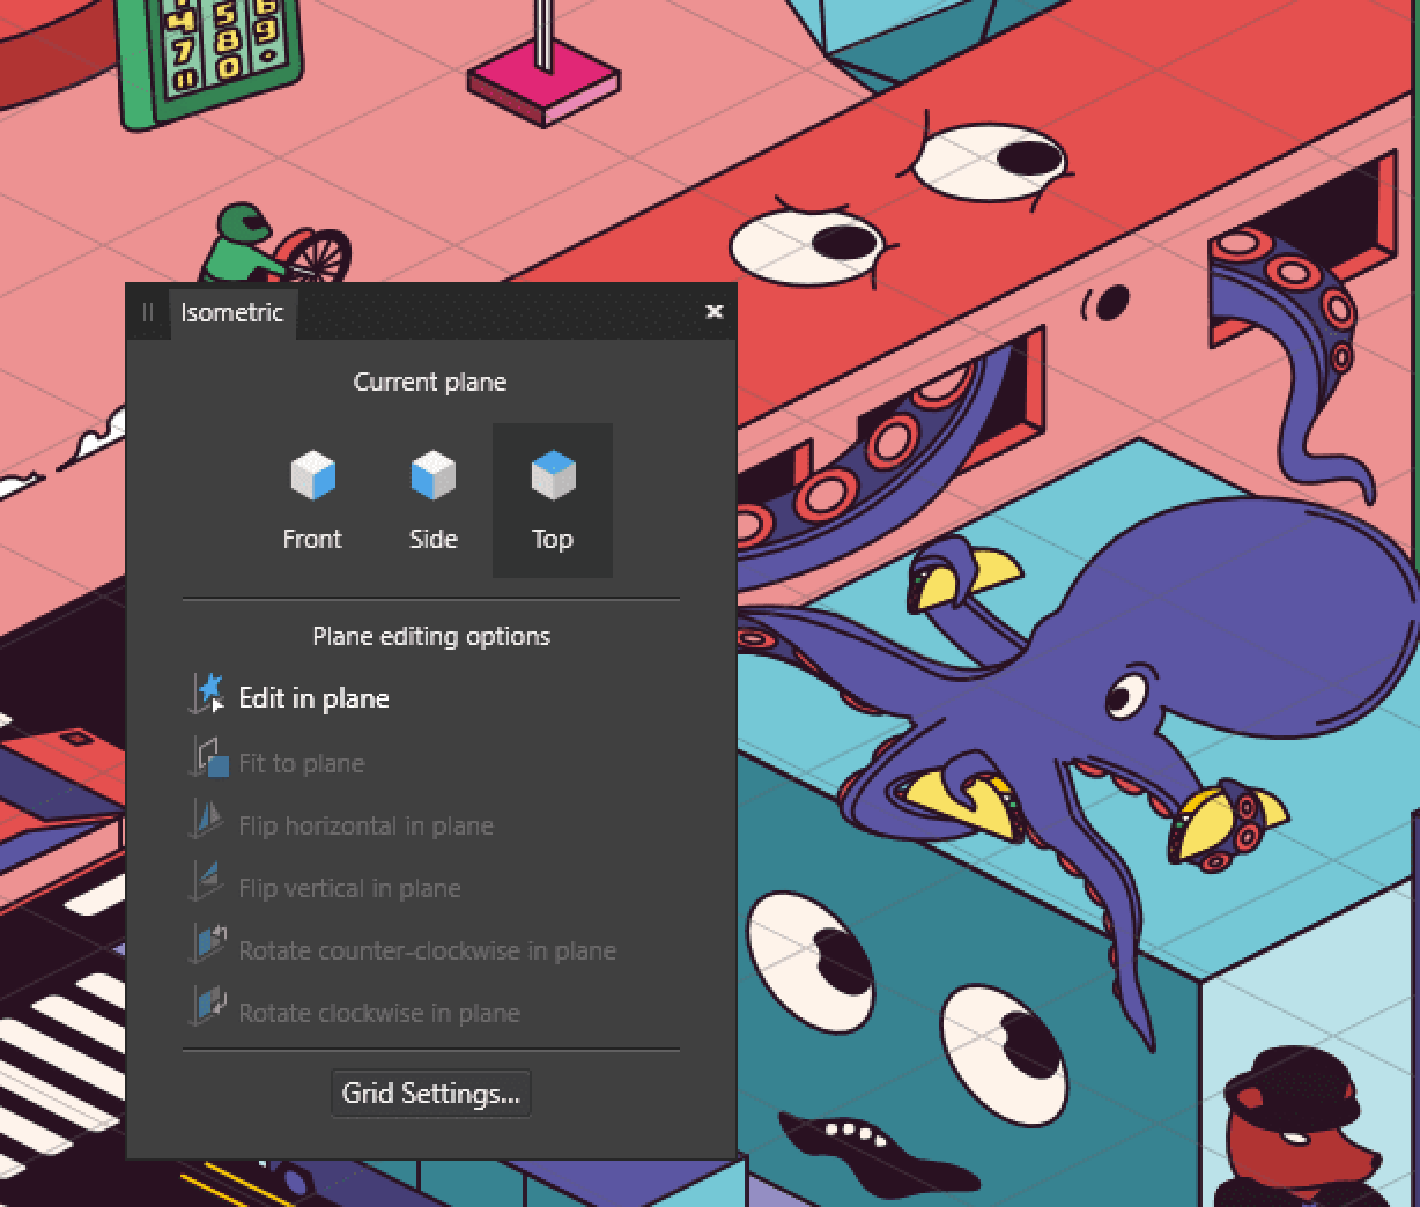
The isometric tool
This little thing is amazing. It is so cool. I can’t stop spamming this emote 😍 at it. So what does it do and how does it work? It lets you create shapes in a perspective and then gives you the ability to manipulate them there. You start by using the grid tool to define a perspective. After this we can start working with the isometric tool to do some fun stuff.
Here, you can manipulate shapes on a plane, but then also rotate, move and convert them to other planes! After discovering this tool, my mind started swirling with all kinds of cool things that could be done with it. You can do some really neat stuff!
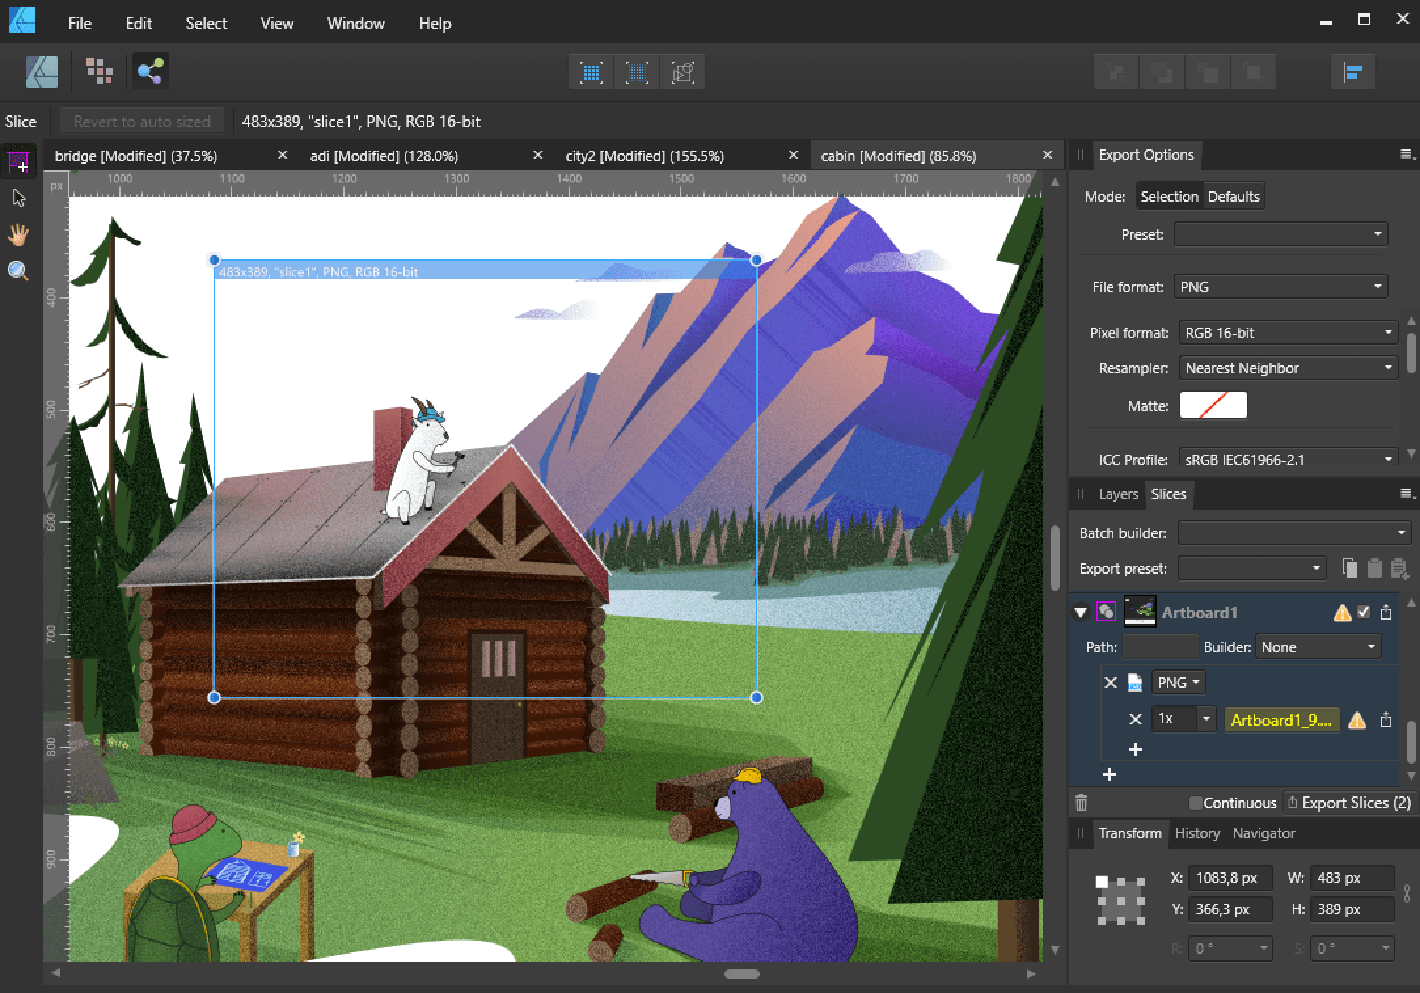
The export persona
One of the challenges in working with any team is exporting your files and sharing them with the folks who need them. The ‘persona’ workflow in Affinity is a really cool way of make the interface show the tools you need for the actions you will want to create. It makes the UI easier to learn and also lets you see how your work will look when exported. You can switch between ‘Designer’ (vector based), Pixel & Export personas here.

This view lets you select your slices for export and allows you to define presets for the future. A trick you can use as well, is to use the slicing tool as a non-destructive crop tool. If you select a slice, you can resize it and zoom in and Affinity will only export what is inside the bounds of the frame. This is an excellent way to capture those small details that you want to show off when you share your illustrations & designs.
Wrapping up
Affinity Designer has been a really rewarding tool to learn. While it may not have all the features that other tools do, it does its job well and makes some hard stuff, a bit easier. As we are building Shareup, we’ll be sharing our illustrations & designs on our Instagram. Come give us a follow, and if you find some other cool illustration tricks, let us know about them.